83 lines
3.6 KiB
Markdown
83 lines
3.6 KiB
Markdown
# Subscription Plans
|
||
Billing users for a subscription plan is pretty straight forward. Every Plan **hasOne** Role, so when a user subscribes to a plan they will inherit the permissions associated with that user role.
|
||
|
||
The Plan you create in Wave will be associated with a plan you create on Paddle.
|
||
|
||
- [Current Plans](#current-plans)
|
||
- [Deleting Plans](#delete-plans)
|
||
- [Creating Plans](#create-plans)
|
||
- [Creating Plans in Paddle](#create-plans-paddle)
|
||
|
||
---
|
||
|
||
<a name="current-plans"></a>
|
||
### Current Plans
|
||
|
||
When you install Wave you will see there are 3 default plans:
|
||
|
||
1. Basic
|
||
2. Premium
|
||
3. Pro
|
||
|
||
You can delete these plans and create your own if you would like or you can edit the current plans.
|
||
|
||
<a name="delete-plans"></a>
|
||
### Deleting Plans
|
||
|
||
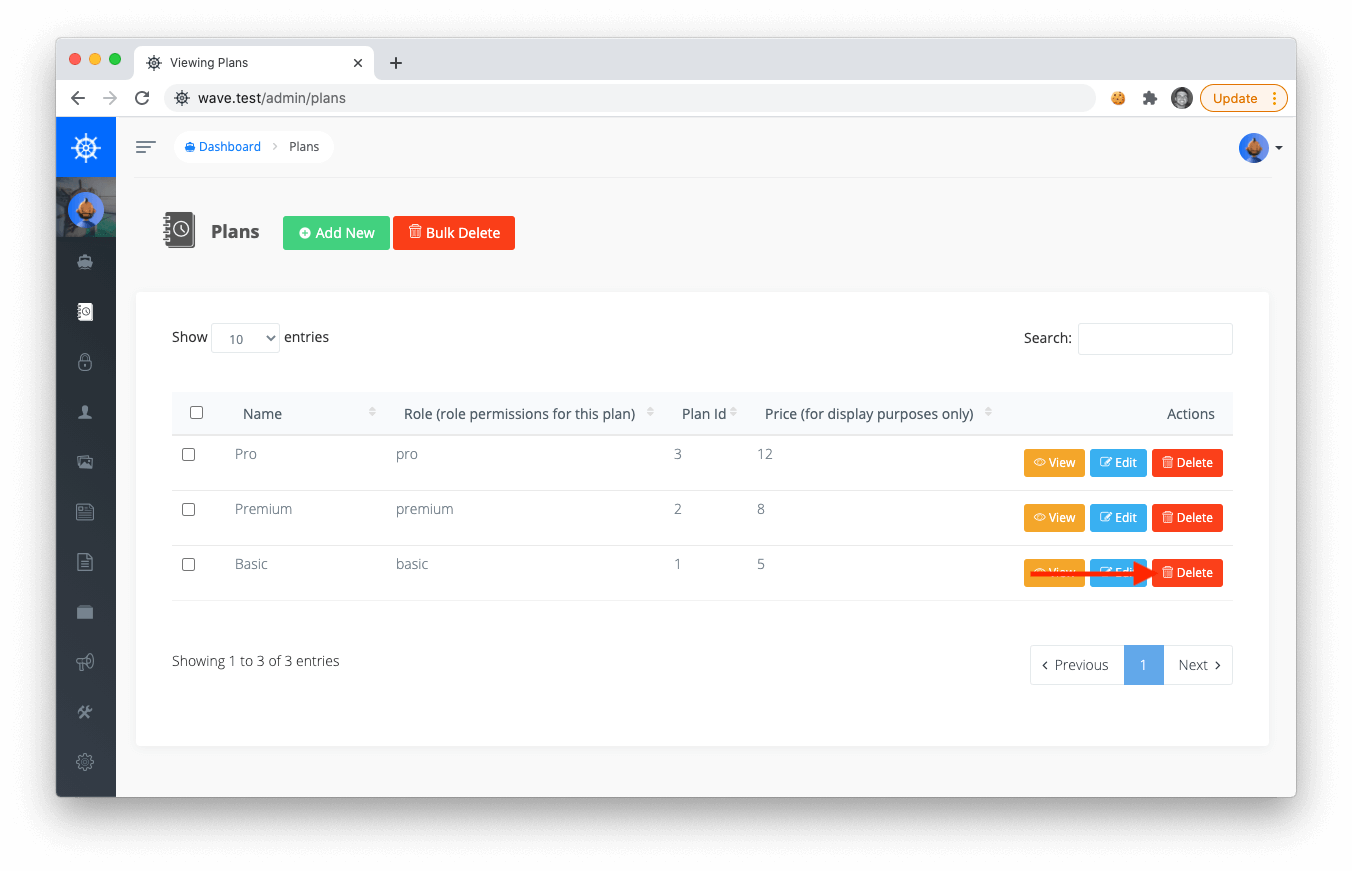
In order to show you how to create a new plan, we will delete the existing **Basic** plan. To delete plans you can visit `/admin/plans` and click Delete:
|
||
|
||
|
||
|
||
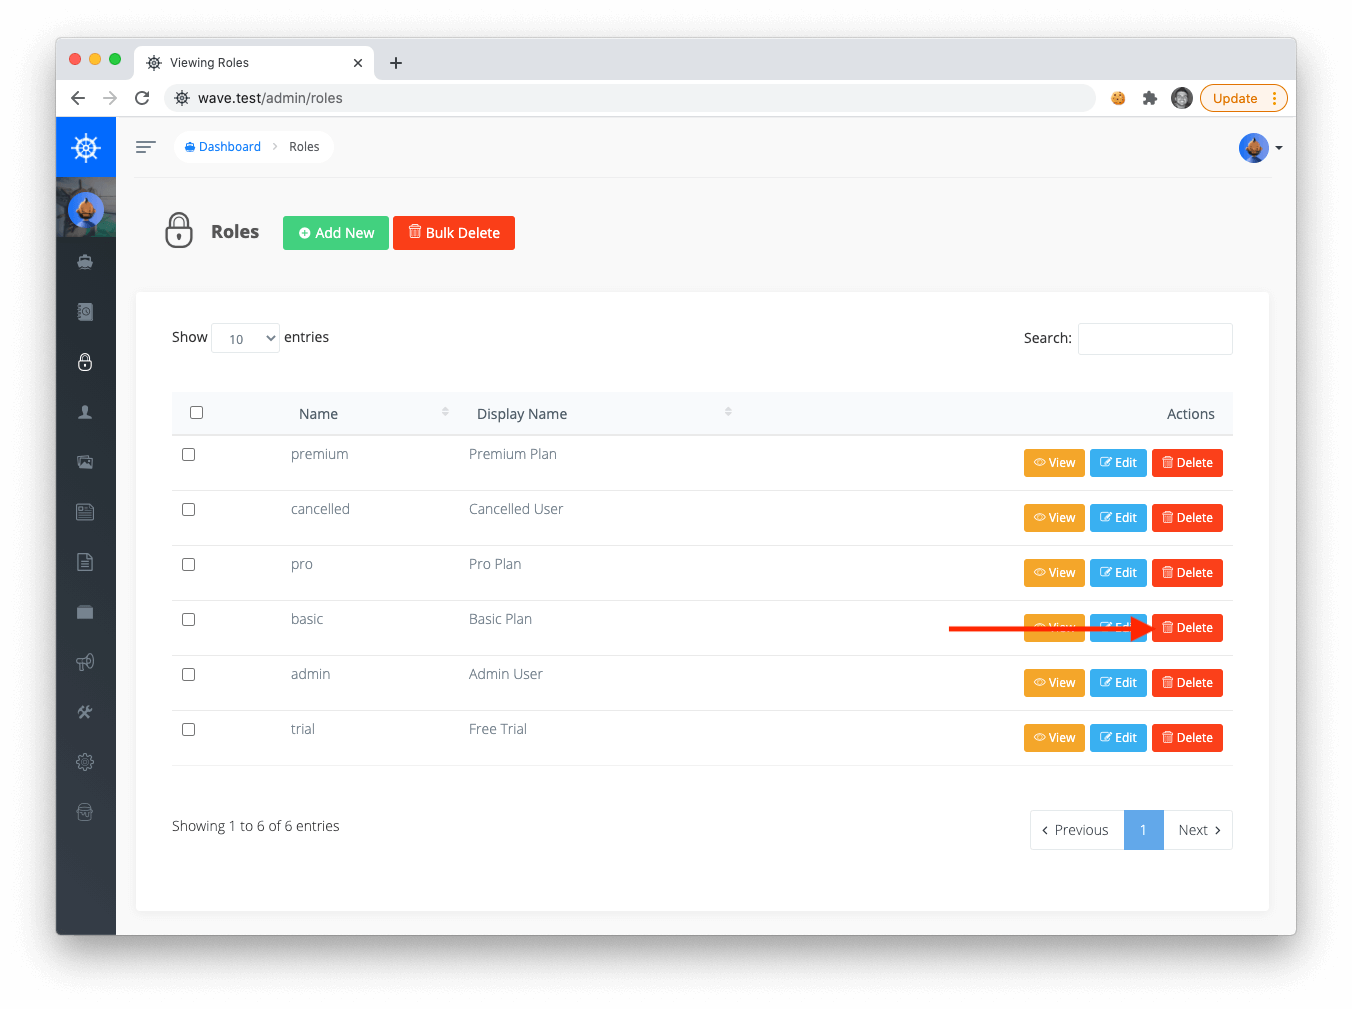
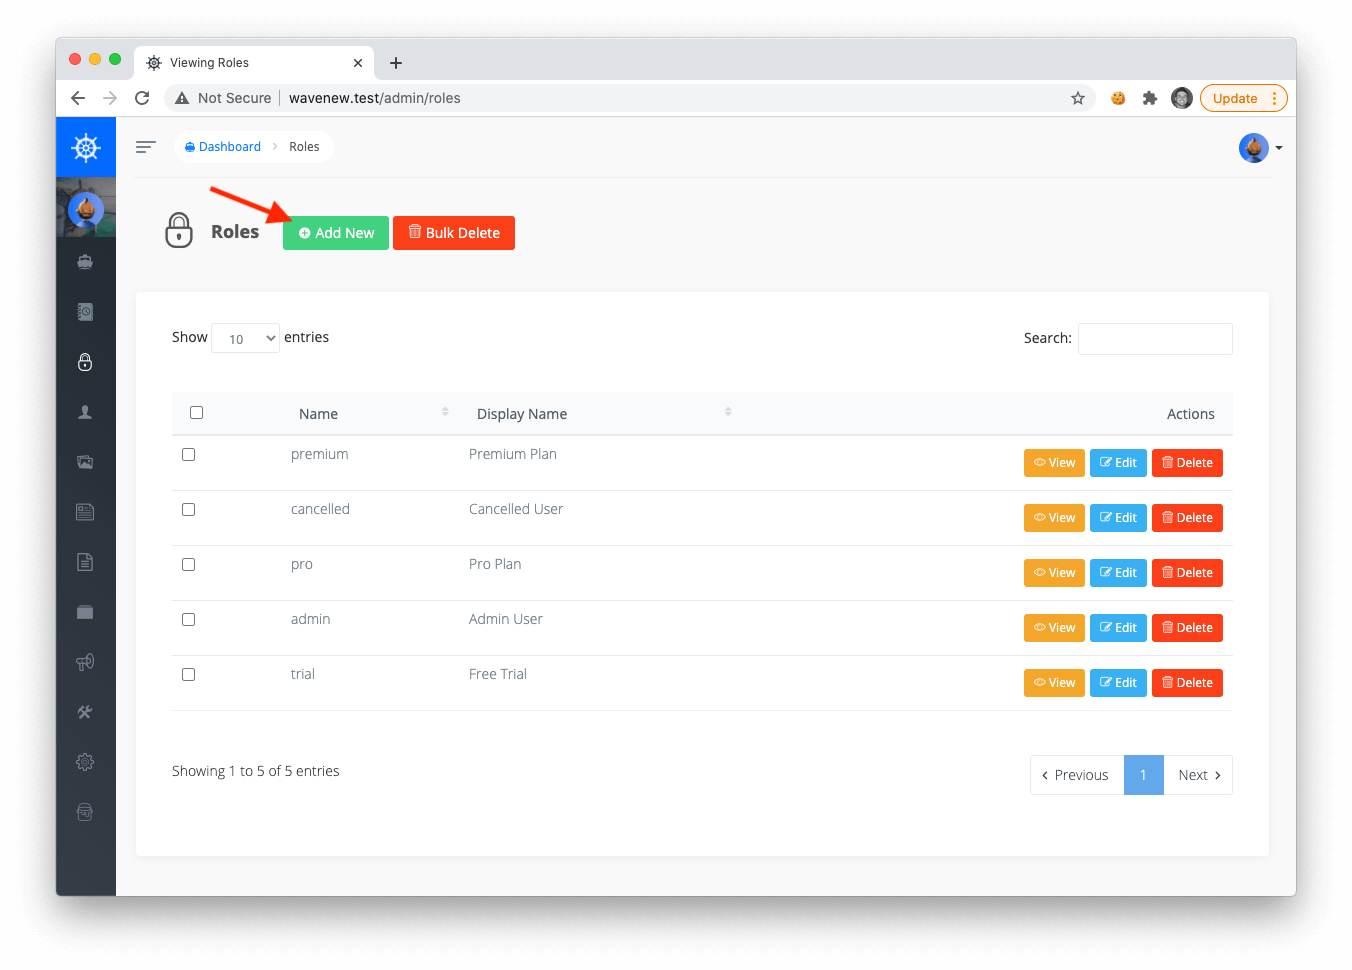
Since our plan is associated with a role, we will also delete the associated role at `/admin/roles`
|
||
|
||
|
||
|
||
We will cover more about User Roles in the next section.
|
||
|
||
<a name="create-plans"></a>
|
||
### Creating Plans
|
||
|
||
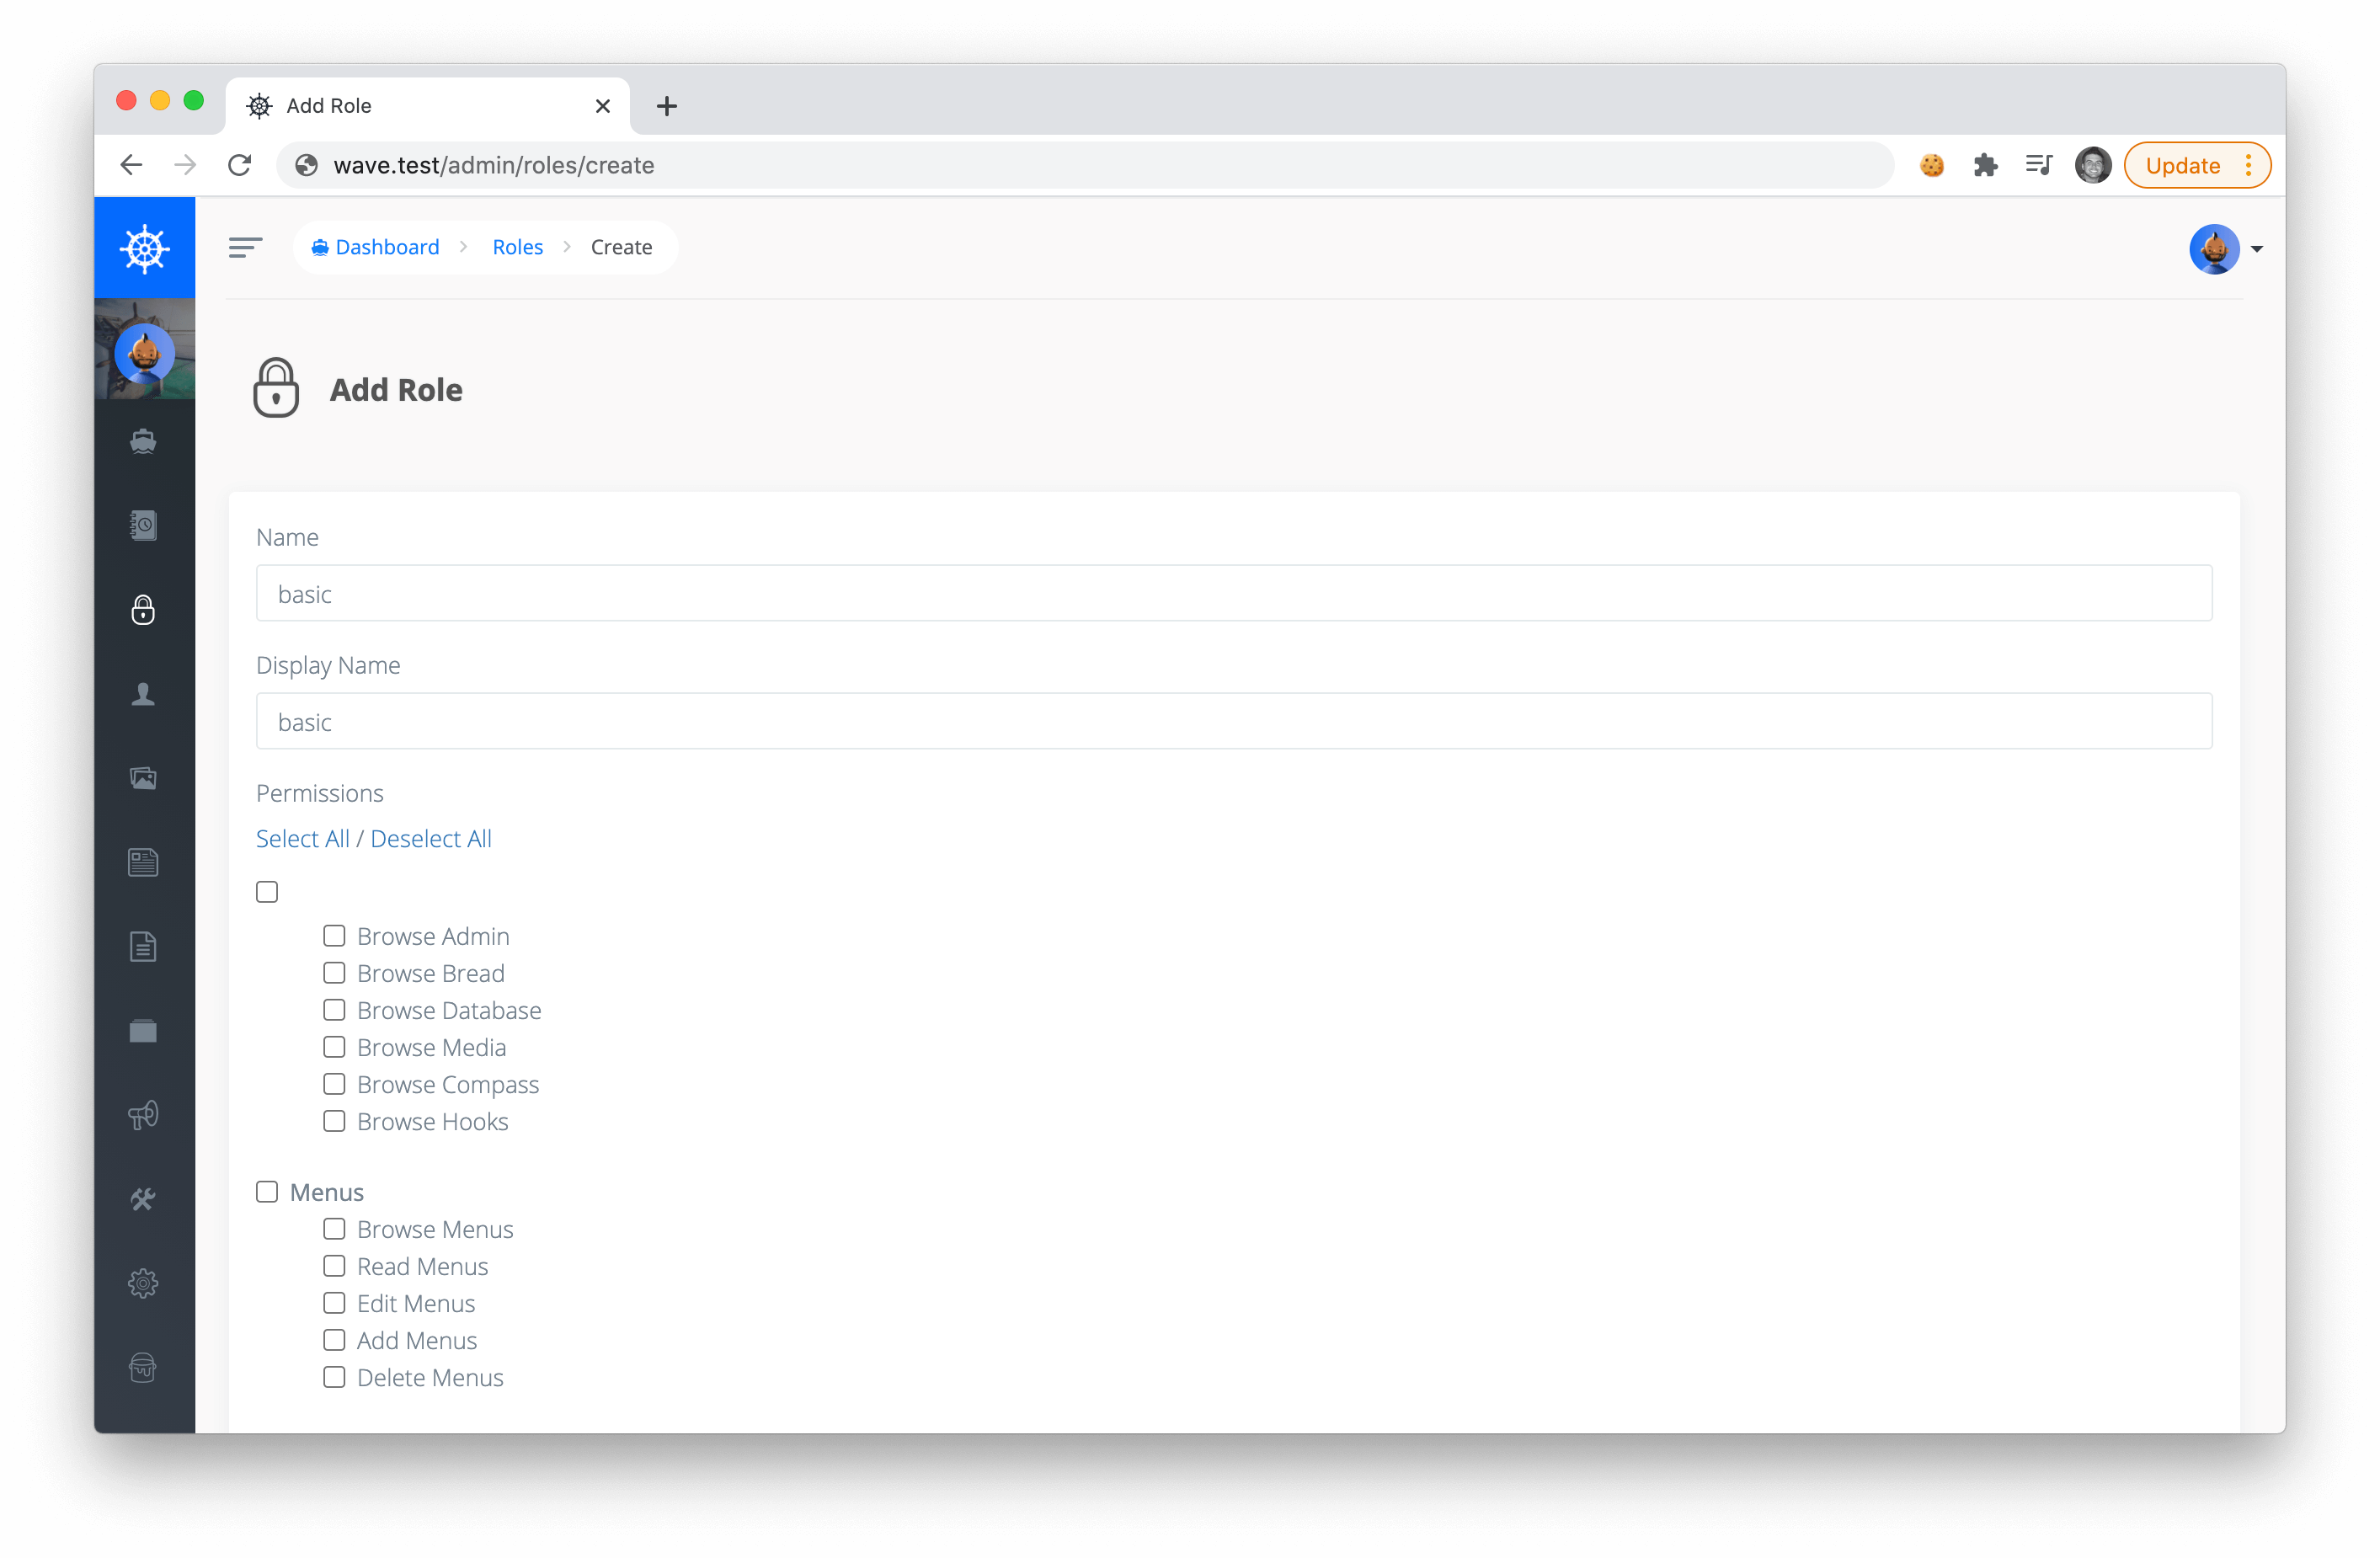
Now, let’s create a new plan called *basic*. But before I create a new plan I will first create a new role that I want to assign to this plan. My new role will be called *starter* as well, but you can give the role any name you would like. To create a new role click on the `Add New` button.
|
||
|
||
|
||
|
||
Then we can create our new role called **basic**
|
||
|
||
|
||
|
||
Notice on this page you can specify permissions for this role. We will talk more about this in the next section. For now, you can choose to check a few of them, or leave them all unchecked. Below is a screenshot of what I have checked in this example:
|
||
|
||

|
||
|
||
Now that the role is created we can create a new plan and associate it with a role:
|
||
|
||

|
||
|
||
> Notice the **Plan ID** when creating your plan. This Plan ID is an ID we need to create in Paddle. We'll do this in the next step.
|
||
|
||
Fill out the rest of the info on the plan and click `Save` to create your new plan.
|
||
|
||
<a name="create-plans-paddle"></a>
|
||
### Creating Plans in Paddle
|
||
|
||
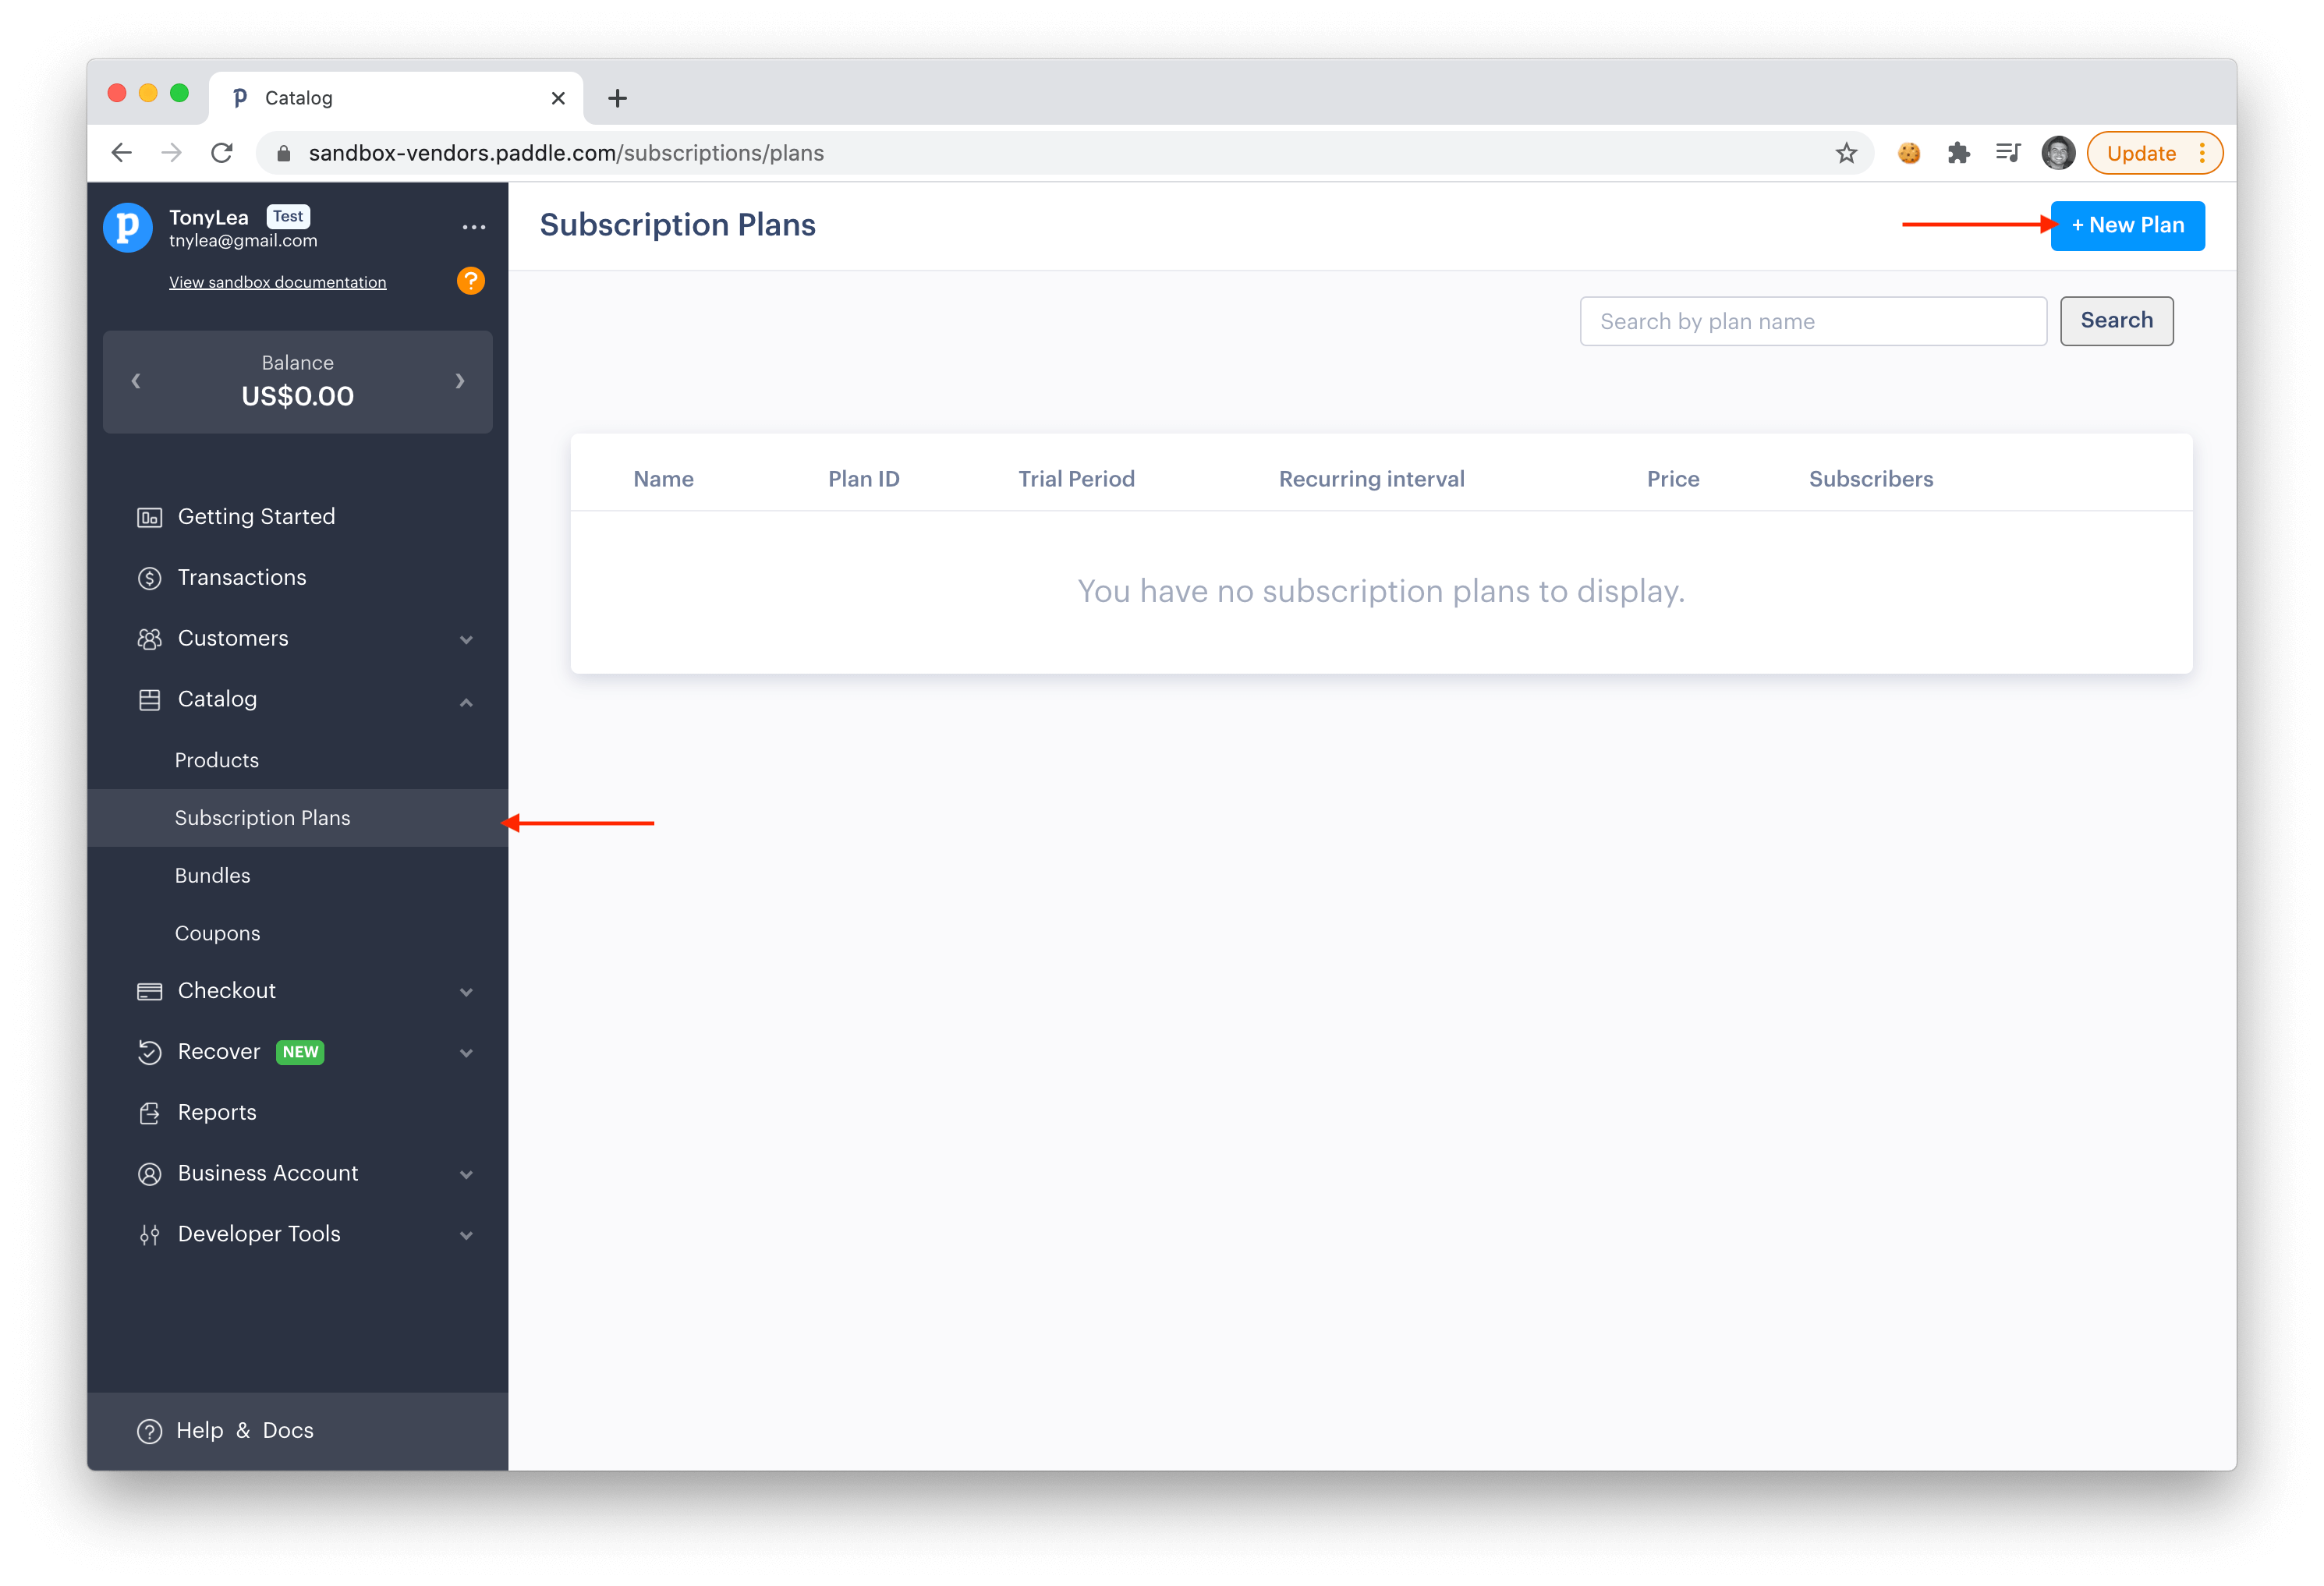
To create a new plan in Paddle, login to your dashboard and click **Catalog**->**Subscription Plans**. Click on the **+ New Plan** button at the top right to create a new plan.
|
||
|
||
|
||
|
||
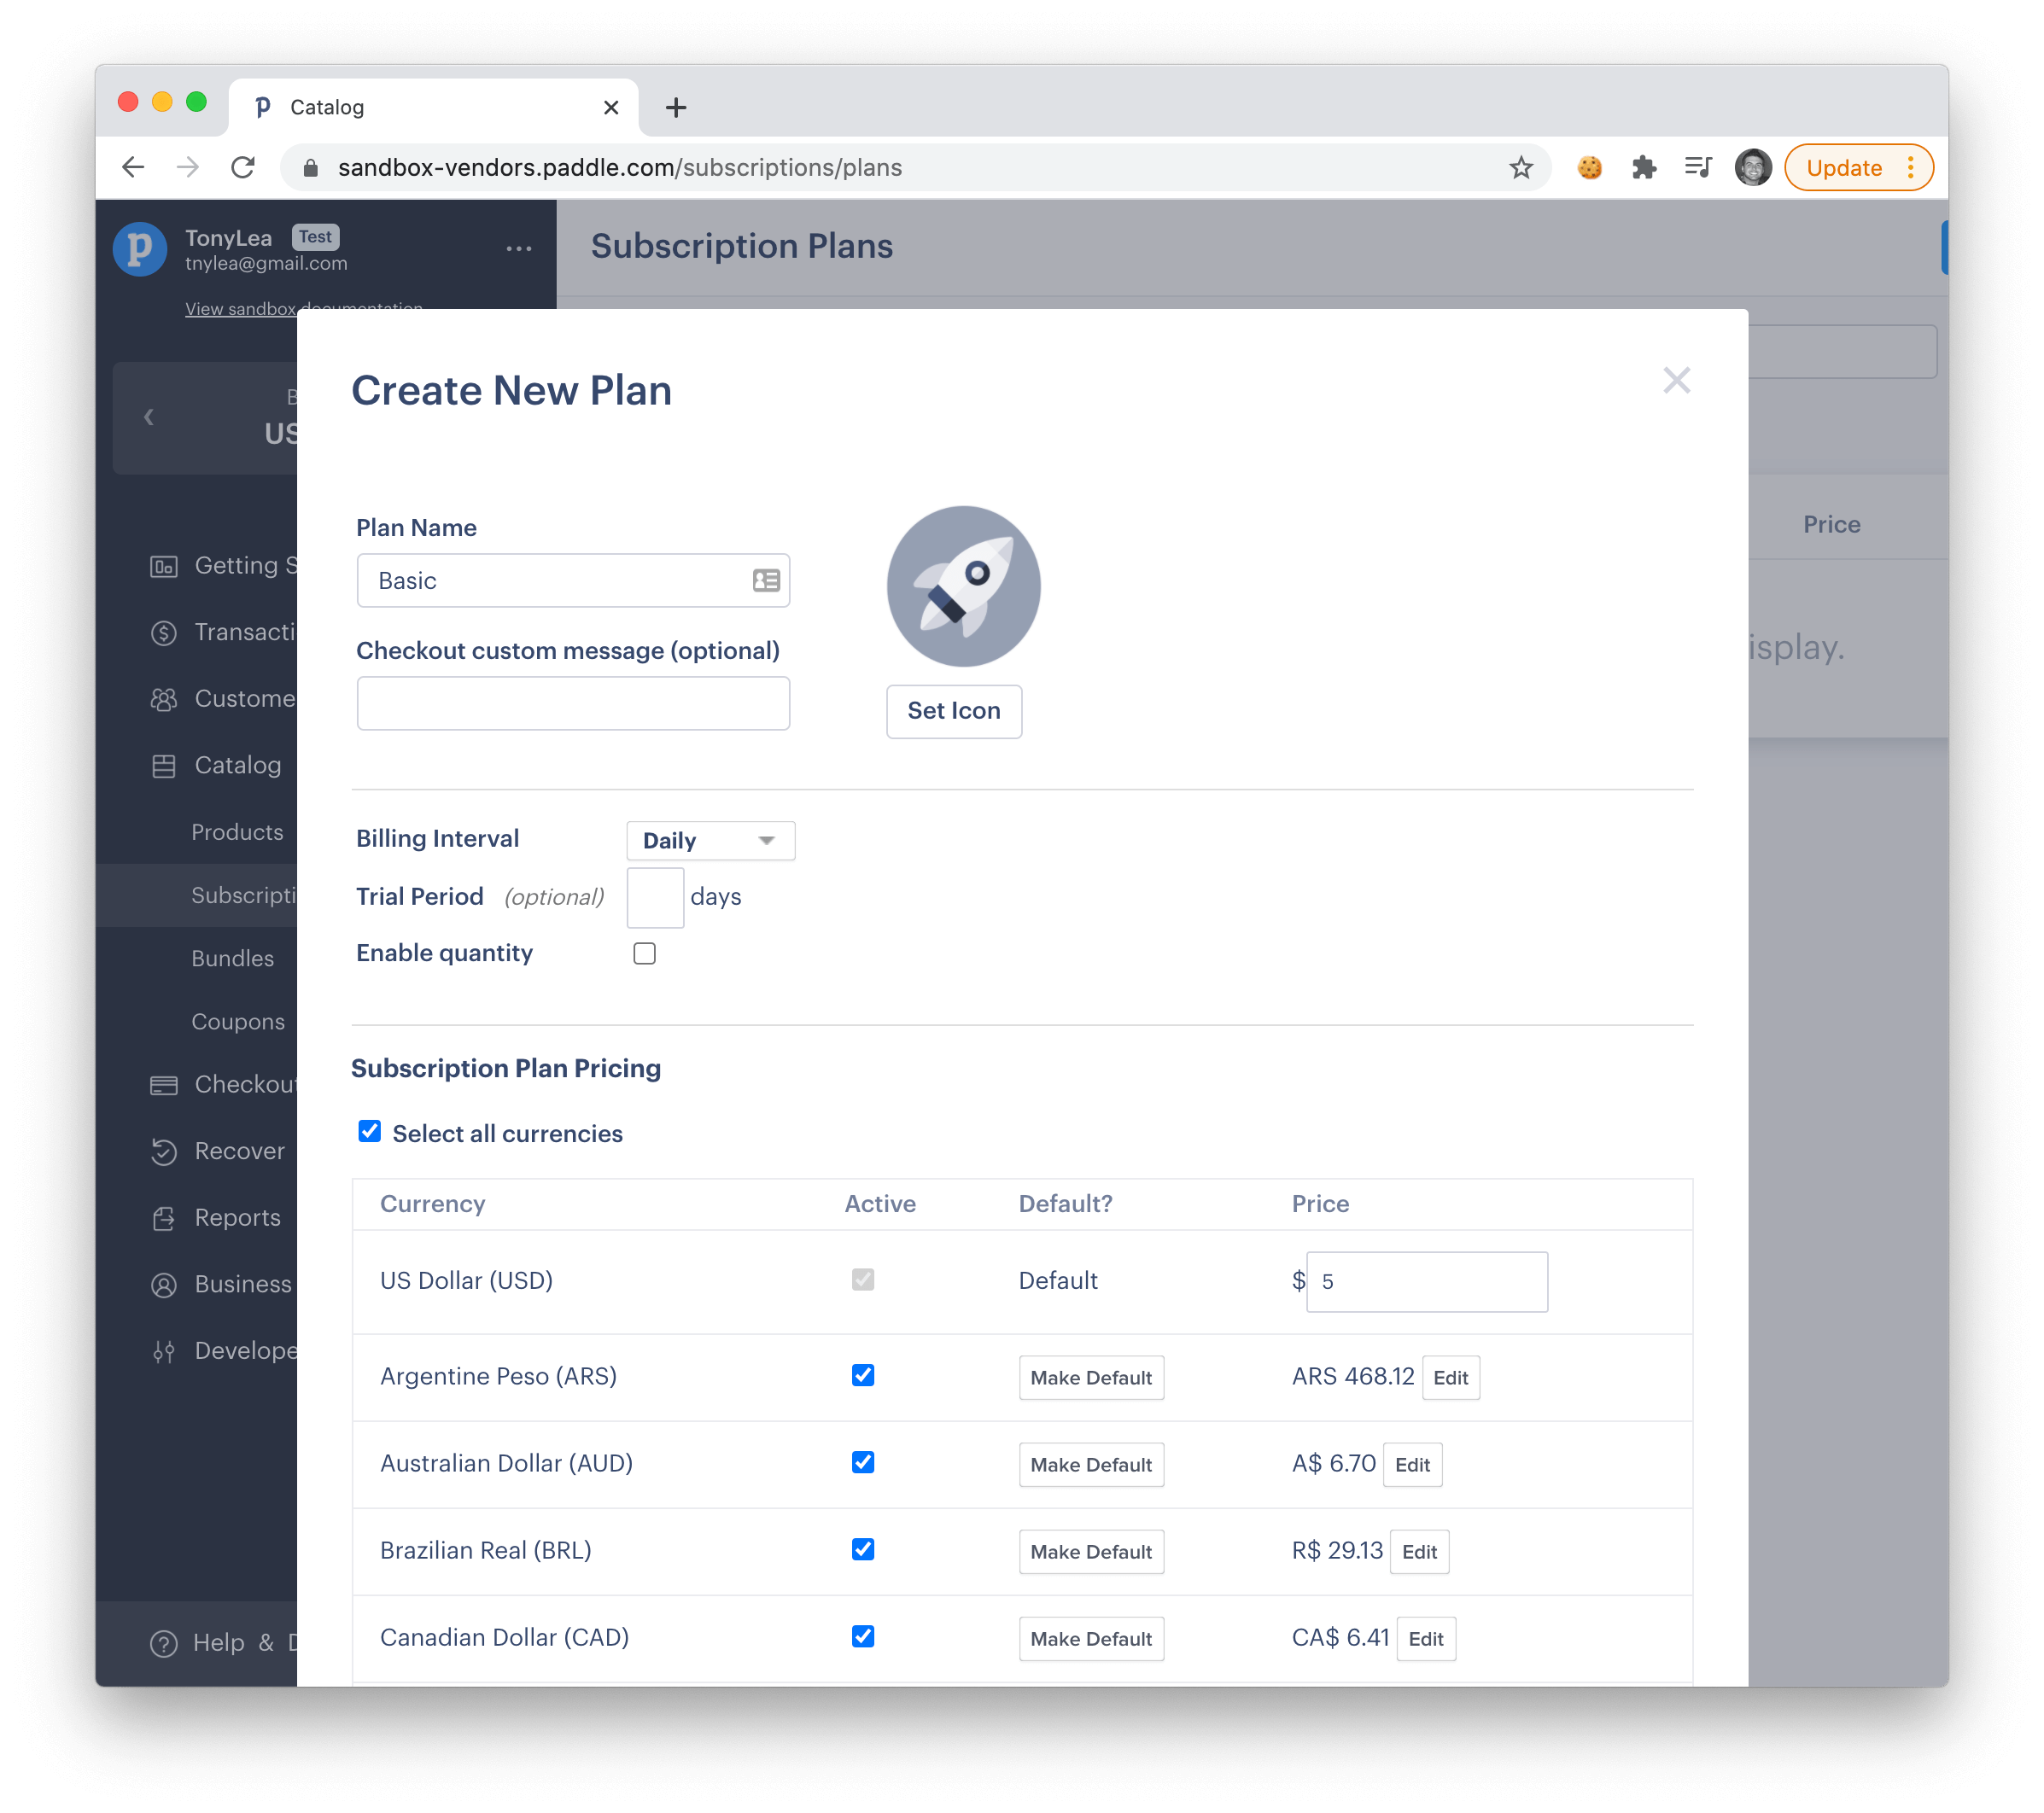
You'll see a pop-up that will ask for the plan name, icon, and price. Fill out the info for your plan.
|
||
|
||
|
||
|
||
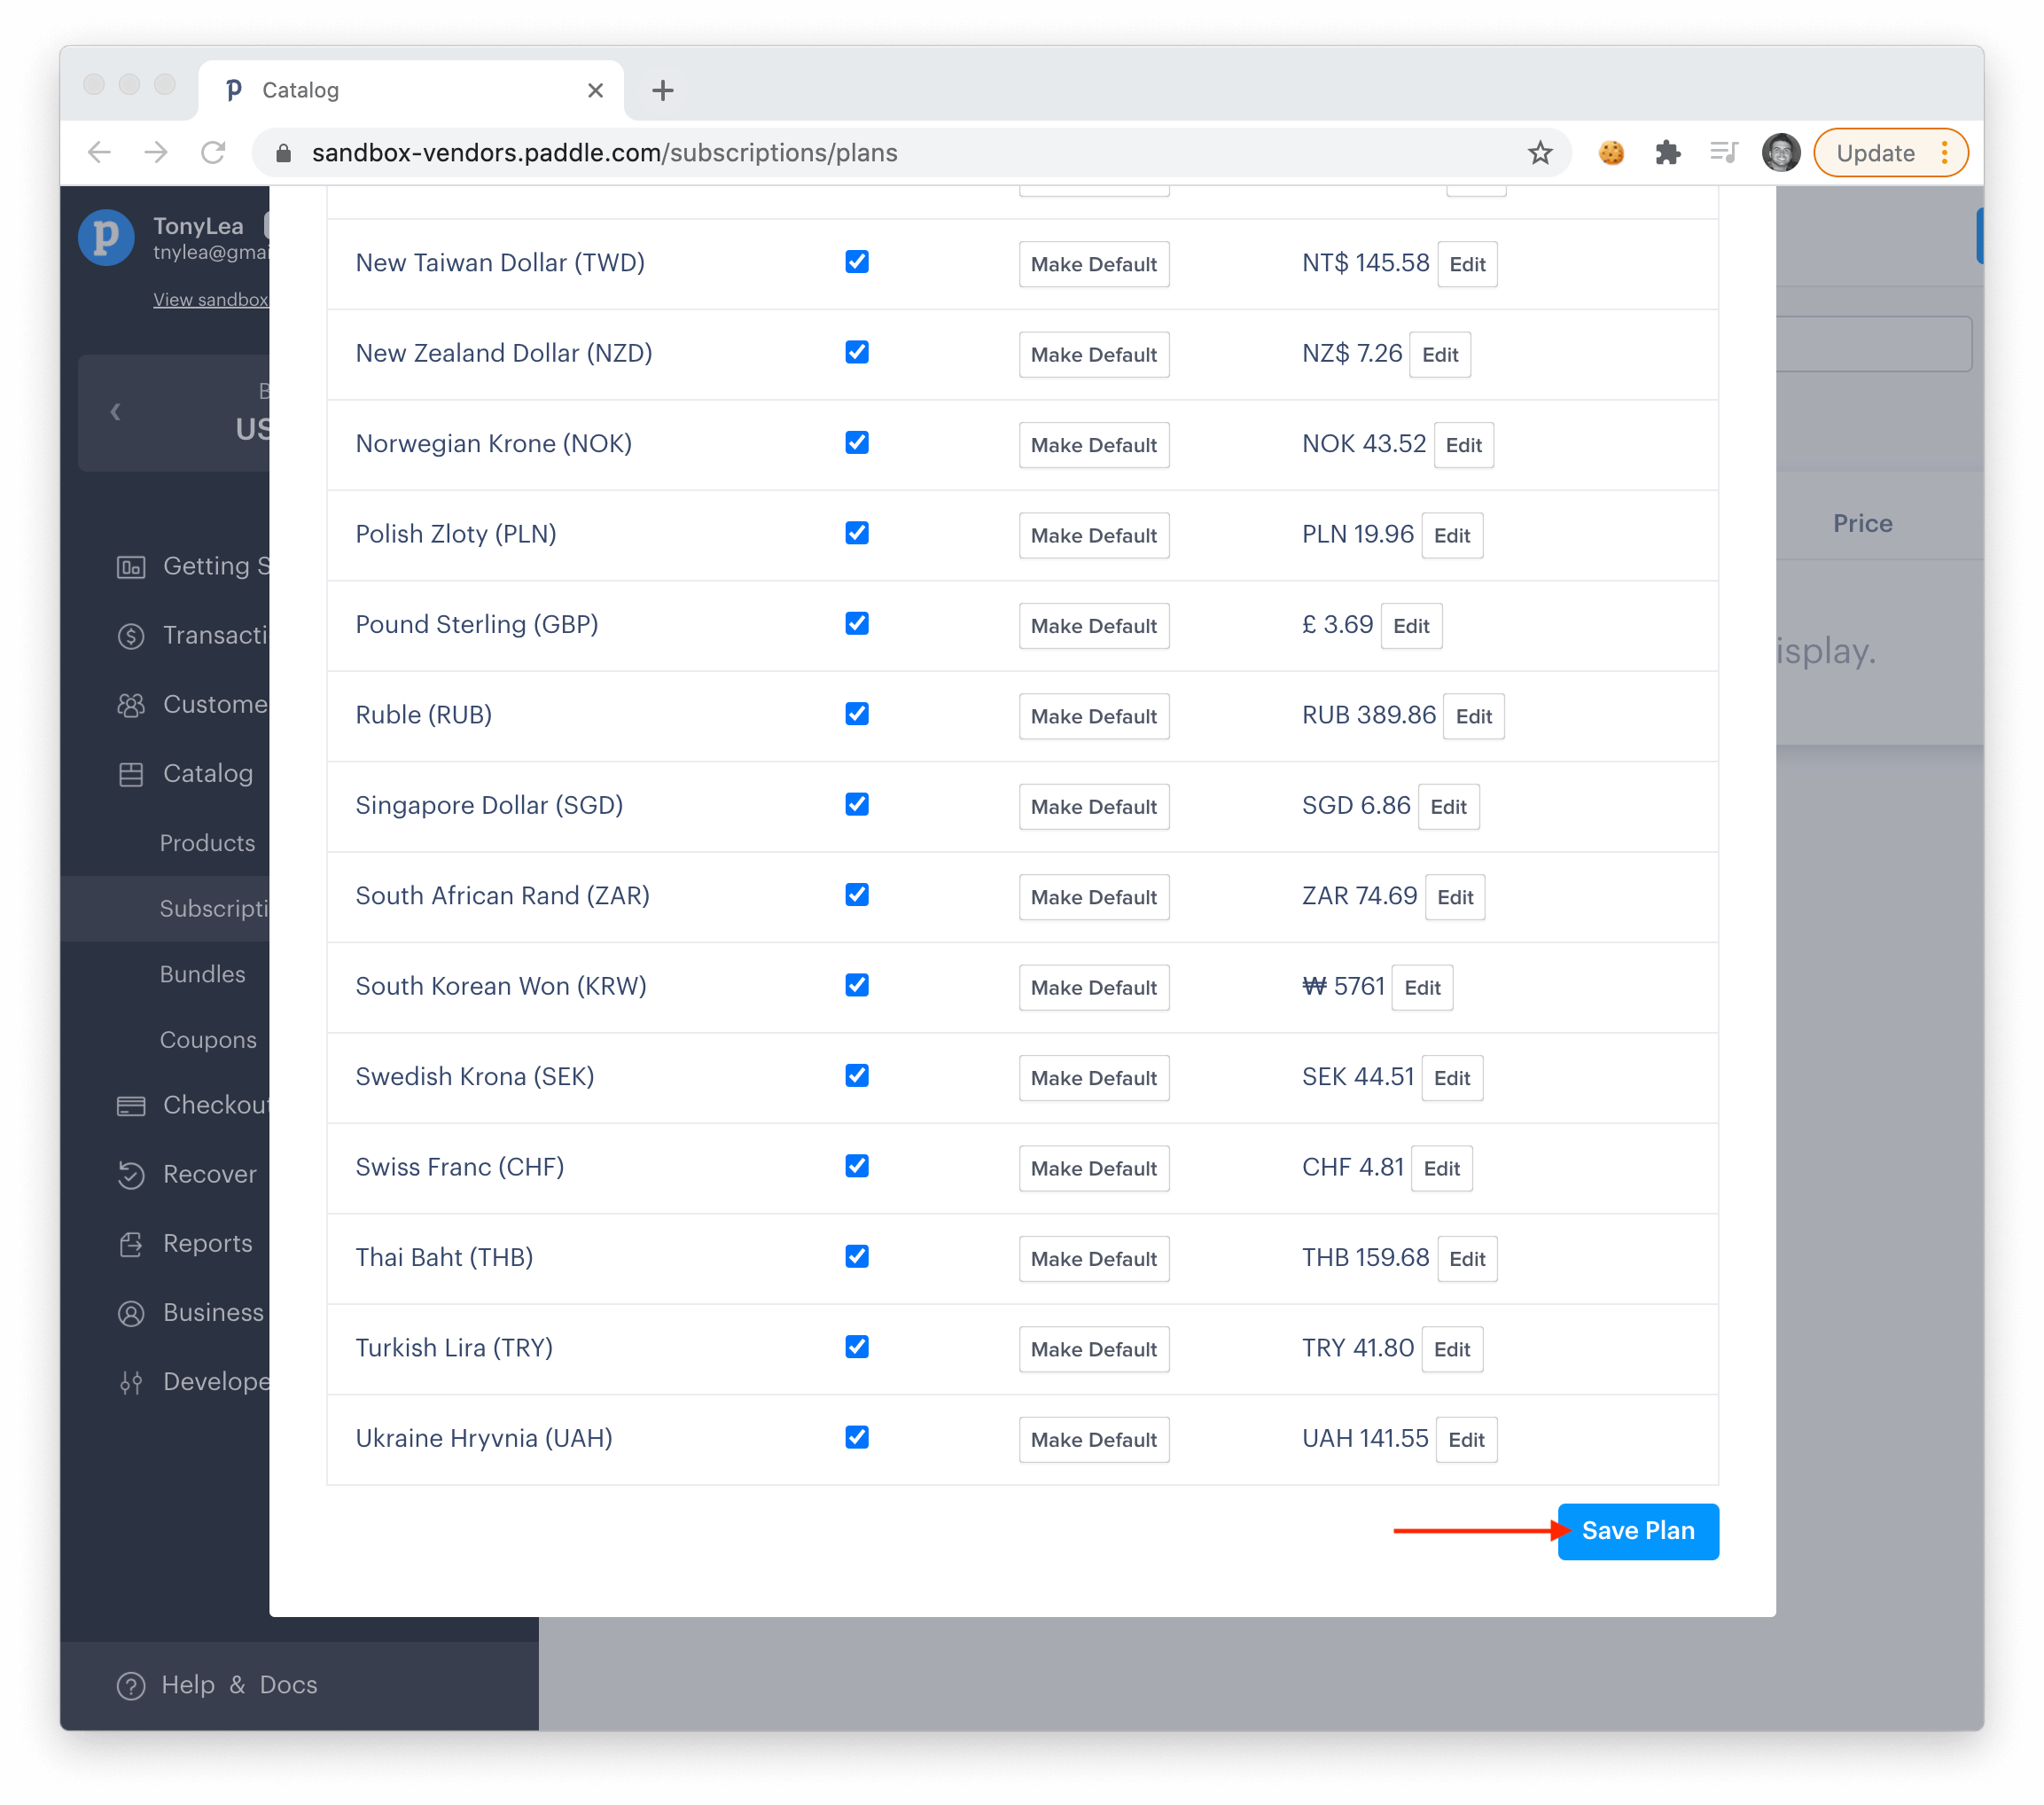
Scroll down to the bottom and click the **Save Plan** button.
|
||
|
||
|
||
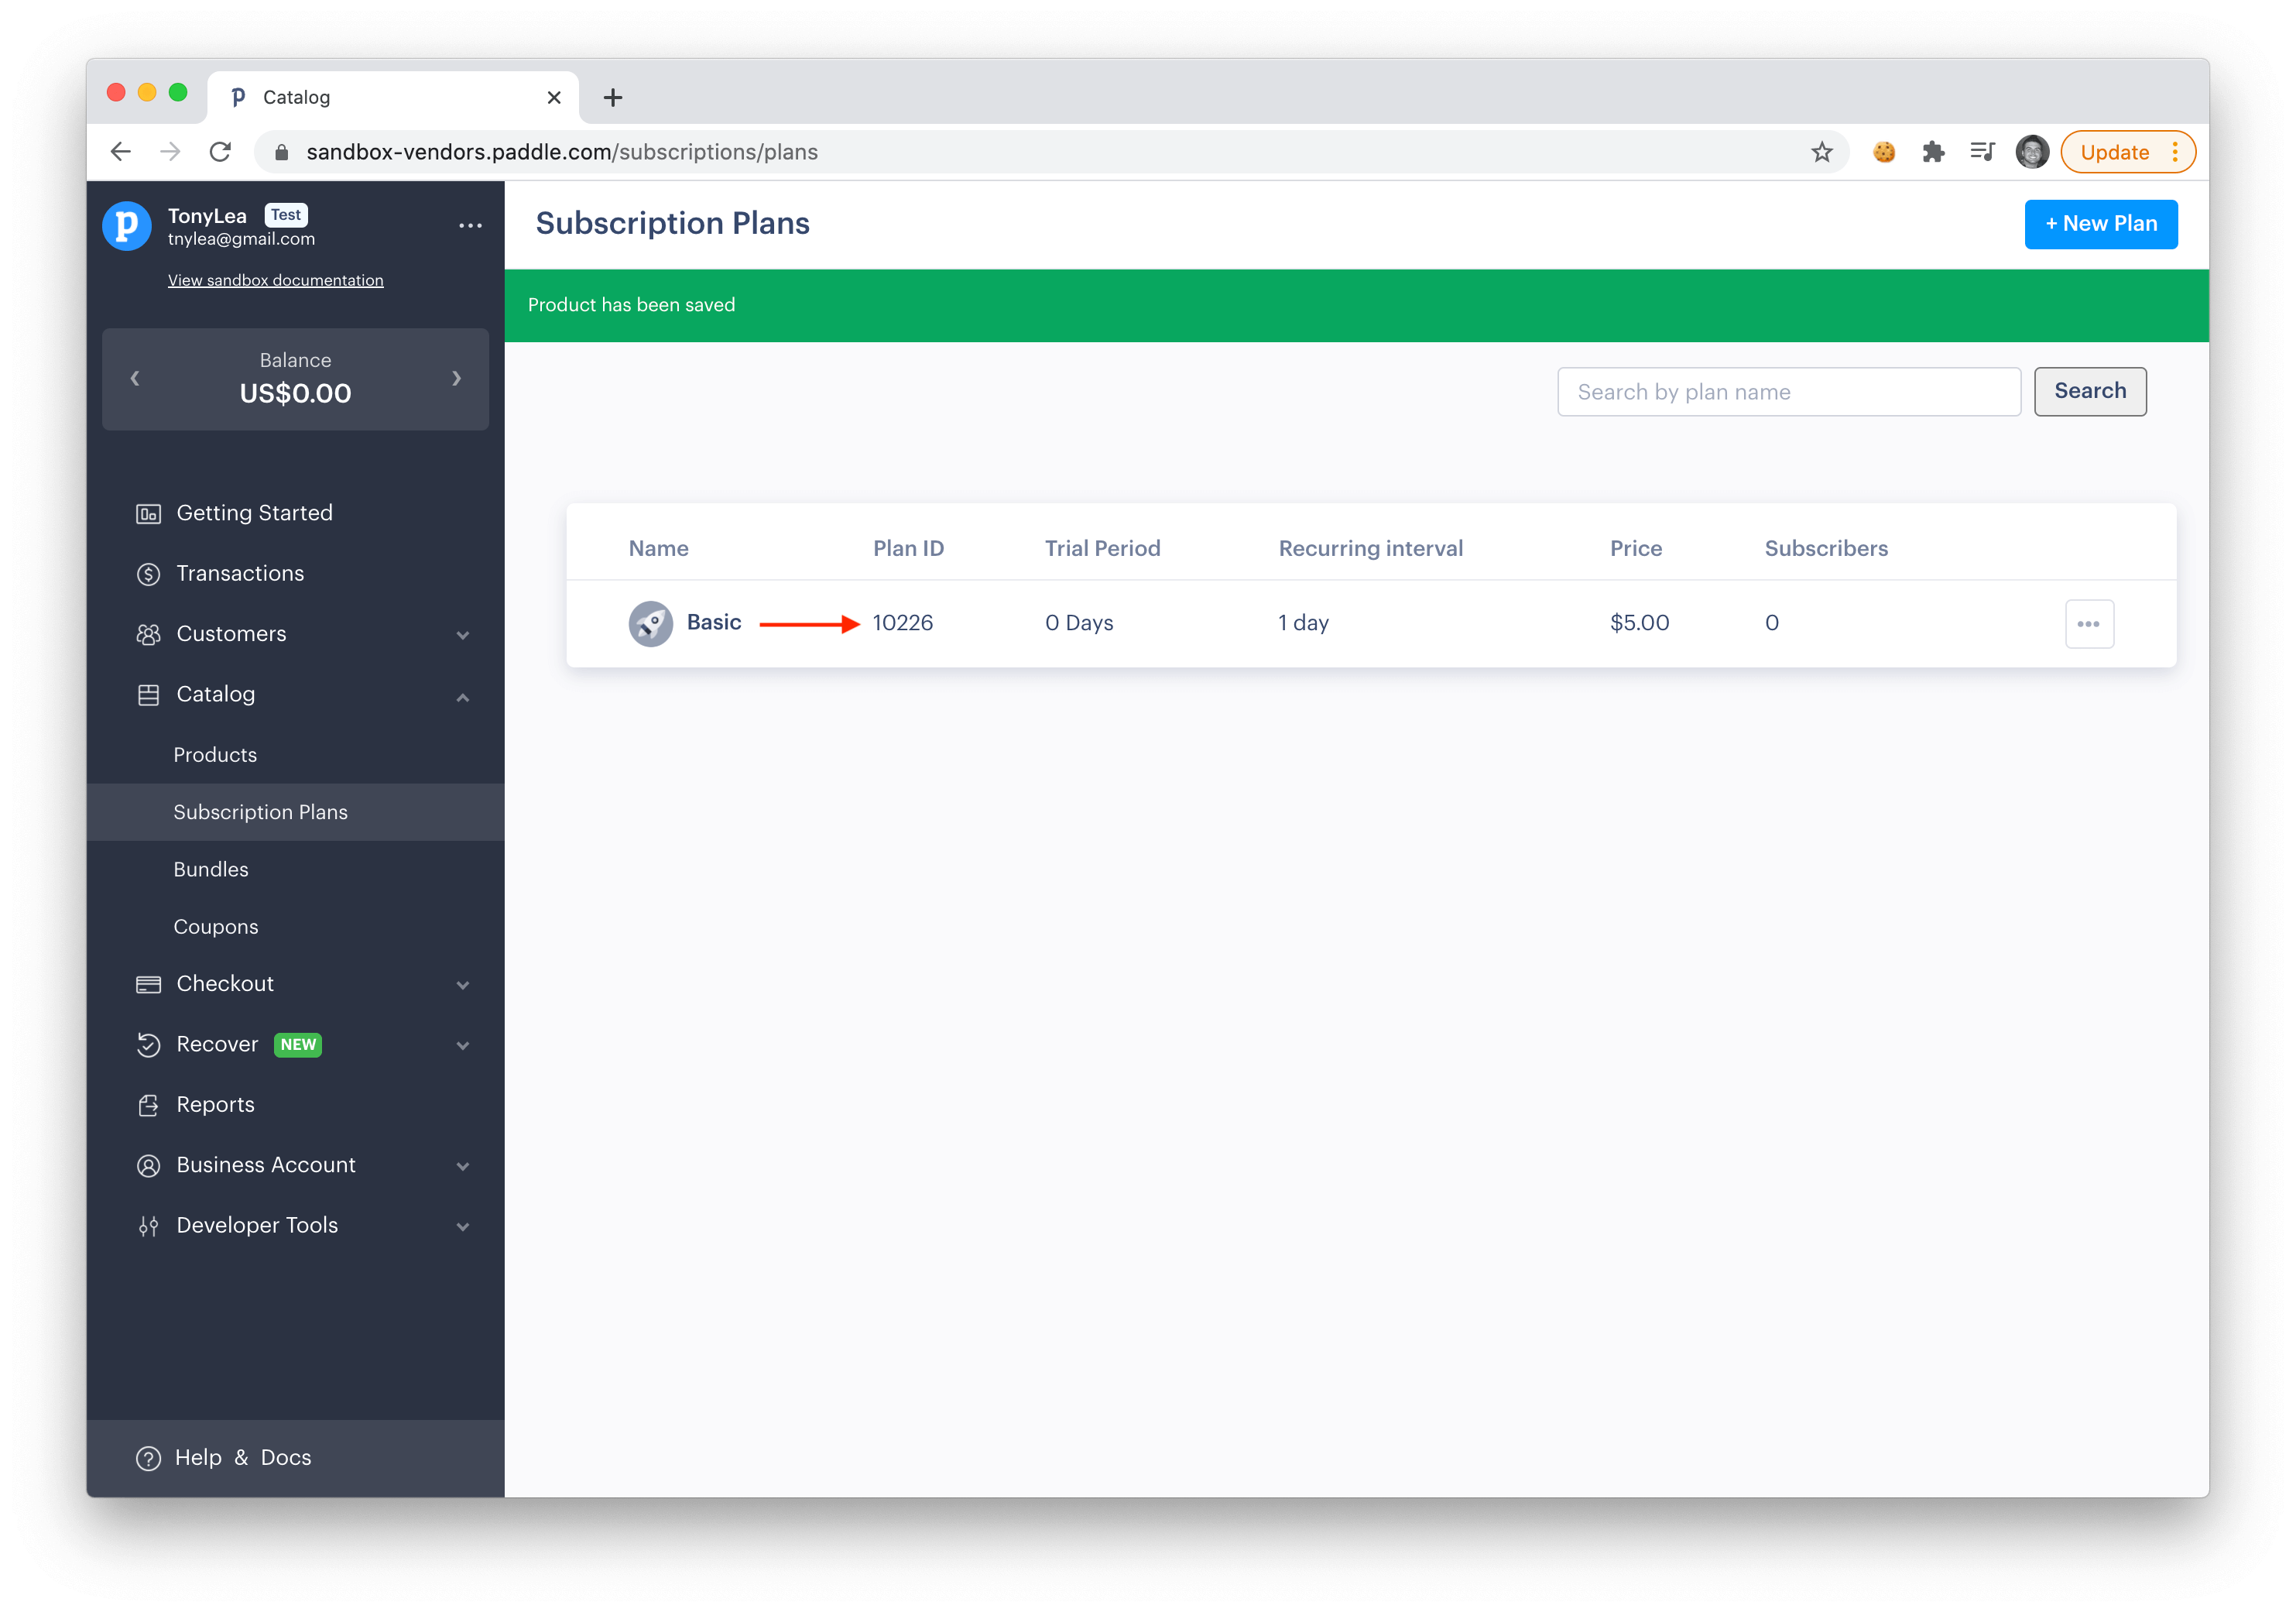
After creating your new plan, you'll see the **Plan ID** you need to associate with the Wave Plan you create from the previous step.
|
||
|
||
|
||
|
||
After adding all your plans, we're ready to [test out the billing process](/docs/features/billing#test-billing).
|
||
|
||
---
|
||
|
||
Next, we'll talk about User Roles. Remember every Plan is associated with a User Role, and this is how we will determine what a user has access to in your application.
|